


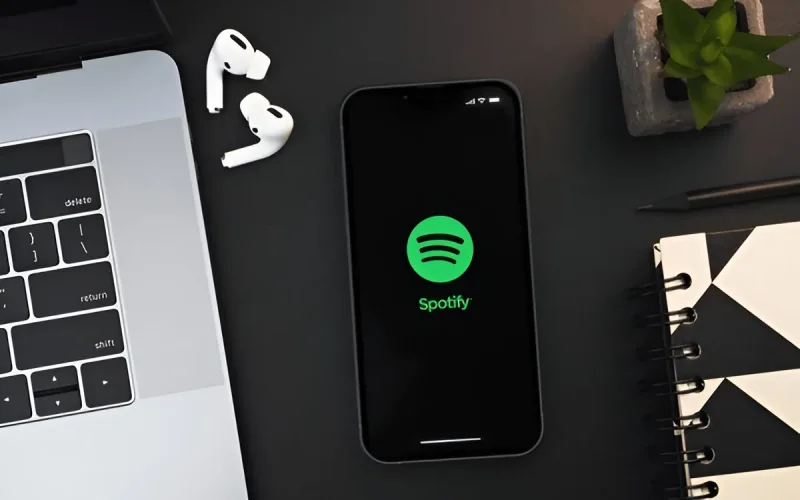
Spotify is the go-to streaming service for millions of listeners, but sometimes you may want your favorite track saved as an MP3 file so you can play it on any device—whether that’s a car stereo, an MP3 player, or offline on your laptop. The catch? Even if you pay for Spotify Premium, the app only lets you listen offline within Spotify itself. It doesn’t actually give you MP3 files that can be moved or shared. If you only need built-in offline listening, see our guide on ways to listen offline on Spotify without Premium. That’s where a safe, legal workaround comes in. In this guide, I’ll walk you through the most reliable way to download a song from Spotify to MP3 without shady tools, all while keeping sound quality intact.
QUICK ANSWER
The safest way to download Spotify songs as MP3s is by using Audacity, a free and trusted audio recording program. It works by capturing the song as it plays on your device, giving you a personal MP3 copy without relying on risky converters or third-party sites. The final quality will match the original playback, so higher-quality streaming results in better recordings. Always remember: this method is for personal listening only, and you should respect copyright laws when using downloaded files.
Can you convert Spotify to MP3 legally?
Yes — but with limitations. Spotify does not officially allow direct MP3 downloads because the platform protects music under licensing agreements. The legal approach is to record songs you’ve already streamed (using tools like Audacity) for your personal, offline use only. Sharing, distributing, or selling those MP3 files would violate copyright law. In short: recording for yourself is fine, but using the files commercially or publicly is not.
All products on Beats Insight are chosen by our experts independently, but we may earn a commission on purchases made through our links. See our full disclosure here.
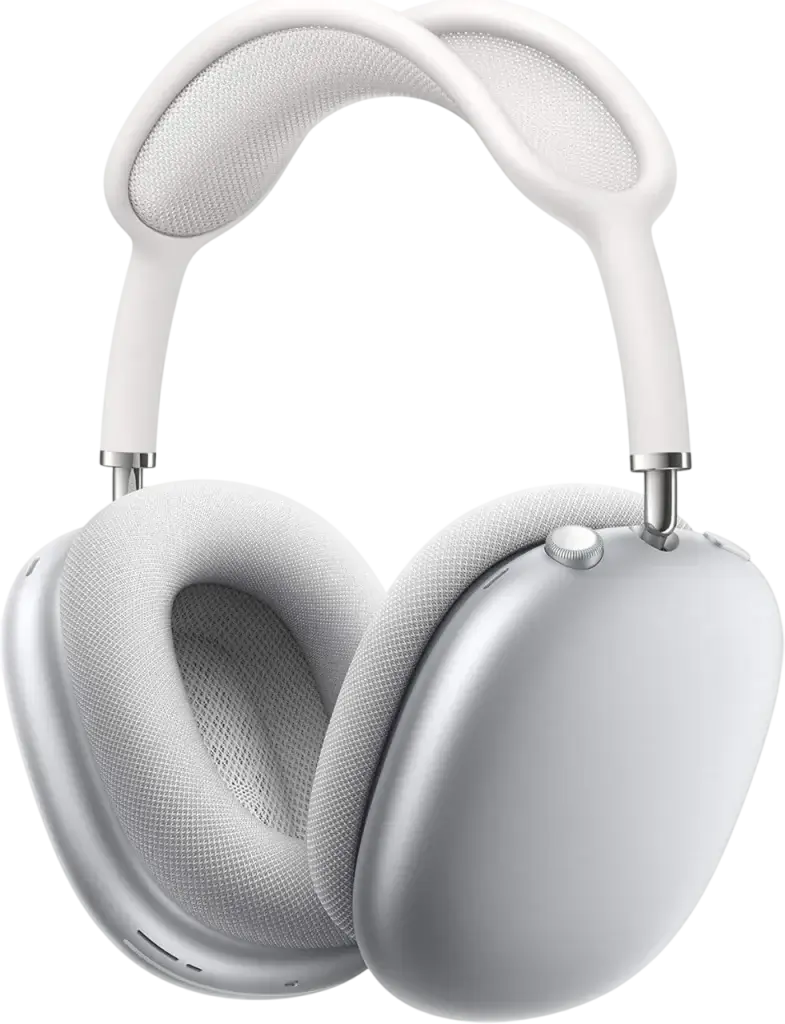
Apple AirPods Max
Experience high-fidelity audio with active noise cancellation.
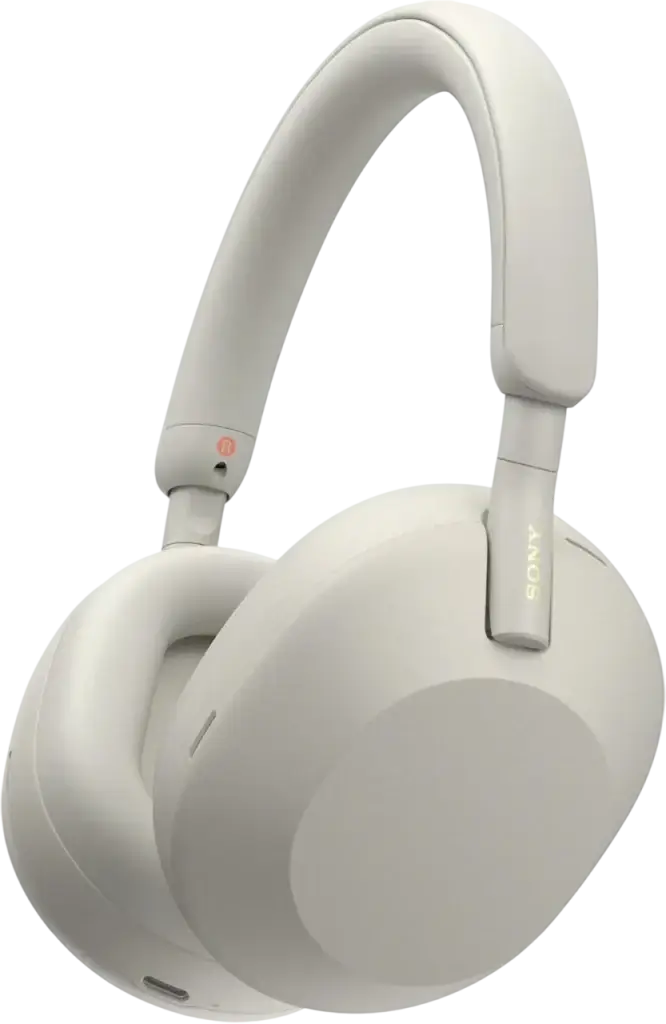
Sony WH-1000XM5
Industry-leading noise cancellation with superior sound quality.
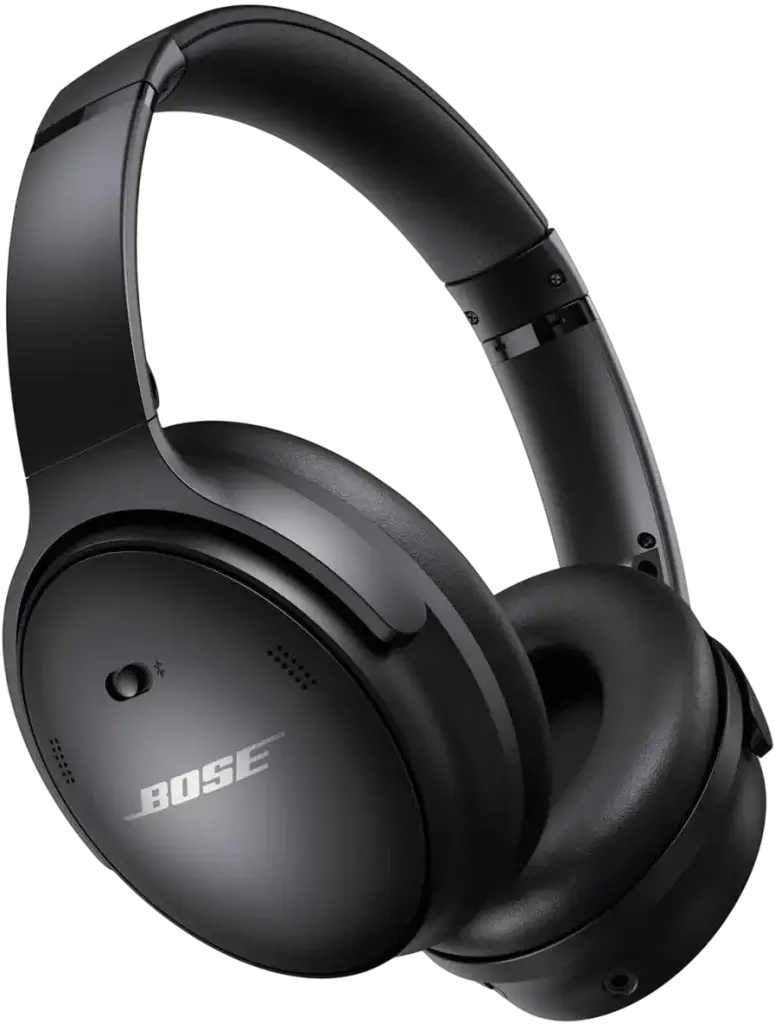
Bose QuietComfort 45
Comfortable design with world-class noise cancellation.
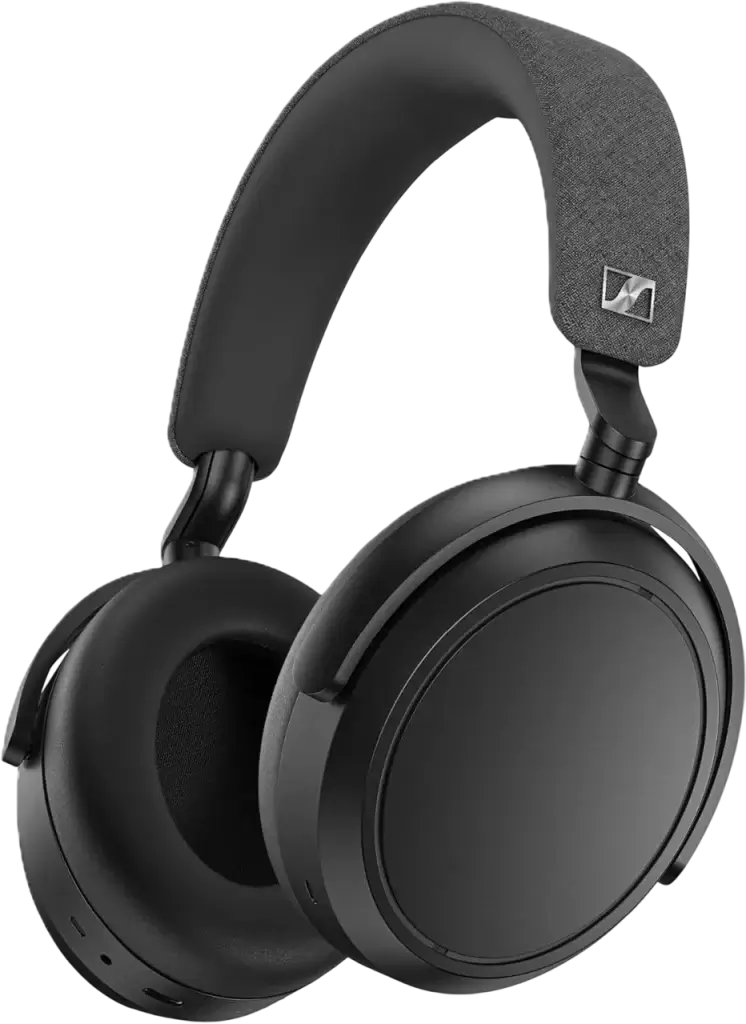
Sennheiser Momentum 4
Exceptional sound with adaptive noise cancellation.
How to download a song from Spotify to MP3 using Audacity (Windows/Mac/Linux)
You’ll capture the track as it plays, then export it to MP3 for personal offline listening. This method avoids shady converters and keeps quality consistent.
What you need
- Audacity (free, open-source) installed
- Spotify desktop app on the same device
- (macOS only) a free loopback driver like BlackHole
- 5–10 minutes per song
Step 1 — Install & set Audacity basics
- Install the latest Audacity for Windows / macOS / Linux and open it.
- Bottom-left of Audacity: set Project Rate to 44100 Hz (CD quality).
- If macOS asks, allow microphone access so Audacity can see the loopback device.
Why this matters: matching 44.1 kHz prevents needless resampling; permissions avoid “no input” headaches on Mac.
Step 2 — Route system audio into Audacity (per OS)
Windows
- Audio Setup → Host → Windows WASAPI
- Audio Setup → Recording Device → pick Speakers (loopback) or Headphones (loopback)
- Audio Setup → Recording Channels → 2 (Stereo)
macOS
- Install BlackHole (free) and in System Settings → Sound, set it as Output
- If you want to hear playback while recording, create a Multi-Output (BlackHole + your headphones).
- In Audacity: Host: Core Audio → Recording Device: BlackHole → 2 (Stereo)
Linux (PulseAudio/PipeWire)
- In your sound settings, enable Monitor of
- In Audacity: choose your default Host (ALSA/Pulse)
- Recording Device: Monitor of
→ 2 (Stereo)
Quick check: play any system sound; you should see the input meters bounce. If not, reselect the device.
Step 3 — Prepare the Spotify track (prevent baked-in processing)
- In Spotify, open the exact song and pause at 0:00.
- Disable extra processing: Settings → Playback → turn off Crossfade, Automix, and Normalize volume.
- Turn on Do Not Disturb/Focus Assist to block notification pings.
- Set system volume to a steady, moderate level (avoid max to prevent clipping).
Step 4 — Record cleanly in Audacity
- In Audacity, press Record (●).
- Switch to Spotify and press Play immediately.
- Don’t touch volume during playback. Aim for peaks around −3 dB on the meters.
- When the song ends, return to Audacity and press Stop (■).
If the waveform looks “squared off” at the top, it’s clipping. Undo, lower system volume slightly, and re-record.
Step 5 — Quick polish for a clean master (optional but recommended)
- Trim dead air at the start/end (select → Delete).
- Normalize: Ctrl/⌘+A → Effect → Normalize → check Remove DC offset and set Peak −1.0 dB → OK.
- (Optional) Fade edges: 2–5 ms Fade In at the start and Fade Out at the end to remove clicks.
- (Optional) Click Removal if you hear ticks (Threshold ~130, Max 20).
Step 6 — Export to MP3 (use compatible tagging)
- File → Export → Export as MP3
- Bitrate Mode: Constant
- Quality: 320 kbps (best) or 192 kbps (smaller file)
- Channel Mode: Joint Stereo
- Edit Metadata: add Artist, Title, Album, Year; choose ID3v2.3 for broad device compatibility
- Save with a clean filename (avoid special characters):
Artist - Song Title (Spotify Capture).mp3
Reality check: exporting above your stream quality won’t “upgrade” audio. Your MP3 reflects what you recorded.
Troubleshooting (fast fixes)
| Symptom | Likely cause | Fix |
|---|---|---|
| No waveform / silence | Wrong device | Re-select loopback/monitor device; confirm meters move |
| Only left or right plays | Mono channel set | Set 2 (Stereo) Recording Channels |
| Distortion / harshness | Clipping | Lower system volume, aim for peaks ≈ −3 dB |
| Can’t hear while recording (Mac) | Output routed to BlackHole only | Create Multi-Output (BlackHole + headphones) |
| Loopback device missing (Win) | Wrong host | Set Host: Windows WASAPI, then pick Speakers (loopback) |
| Song sounds “processed” | Spotify effects on | Disable Crossfade/Automix/Normalize in Spotify |
Legal reminder
This records your own playback for personal, offline use. Don’t share, re-upload, or sell the files. Respect artists’ rights and Spotify’s terms.
How to download a song from Spotify to MP4 using OBS (Windows/Mac/Linux)
You’ll capture Spotify’s audio with OBS and save it as an MP4. We’ll use safe OBS settings (no lost files), correct system-audio routing, and a simple “album cover” visual so the MP4 plays nicely everywhere.
Legal note: Record your own playback for personal use only. Don’t share or re-upload. Respect artists’ rights and Spotify’s terms.
What you need
- OBS Studio (Windows / macOS / Linux)
- Spotify desktop app (same device)
- (macOS only) If “Application Audio Capture” isn’t available, install a loopback driver like BlackHole
- An image file (album art or your logo) as a simple visual (optional but recommended)
Step 1 — Install OBS (and set the safe recording container)
- Install the latest OBS Studio and open it.
- Go to Settings → Output.
- Set Output Mode: Advanced → Recording tab.
- Type: Standard
- Recording Format: MKV (safer than MP4 — if OBS or your PC crashes, the file isn’t lost)
- Tick Automatically remux to MP4 after recording (or we’ll do it manually in Step 7).
Why MKV first? Recording directly to MP4 is risky—a crash can corrupt the whole file. MKV + remux = zero-loss safety.
Step 2 — Route system audio into OBS (per OS)
Windows (best: Application Audio Capture)
- In the Sources dock → + → Application Audio Capture.
- Window/Application: choose Spotify.
- In the Audio Mixer, aim for peaks around −6 to −3 dB (no red clipping).
If “Application Audio Capture” isn’t present, add Audio Output Capture → select your Speakers/Headphones device.
macOS
- Option A (if available): Application Audio Capture → pick Spotify.
- Option B (universal): install BlackHole (free):
- System Settings → Sound → Output: set BlackHole (or create a Multi-Output with BlackHole + your headphones if you want to hear audio while recording)
- In OBS Sources → + → Audio Input Capture → select BlackHole
- Mixer peaks: −6 to −3 dB
Linux (PulseAudio / PipeWire)
- Sources → + → Audio Input Capture → choose Monitor of
(or route via pavucontrol). - Mixer peaks: −6 to −3 dB.
Quick check: play a system sound or a short Spotify preview. If meters don’t move, re-select the correct device/source.
Step 3 — Add a simple visual (so your MP4 isn’t a black screen)
- In Sources → + → Image → pick album art or your logo.
- Fit it to the canvas (Right-click image → Transform → Fit to screen).
- Optional: add Text with Artist – Track so the MP4 is easy to identify on phones/TVs.
Step 4 — Prep Spotify for a clean capture
- Open the exact song and pause at 0:00.
- Settings → Playback: turn off Crossfade, Automix, and Normalize volume (prevents baked-in processing). Prefer not to record and just keep entire releases inside the app?Try saving entire albums directly in the Spotify app.
- Enable Do Not Disturb / Focus Assist (block pings).
- Set system volume to a steady, moderate level (avoid max).
Step 5 — Record the song
- In OBS, click Start Recording.
- Switch to Spotify and Play immediately.
- Don’t touch volume during playback. Watch the Audio Mixer—keep peaks under −3 dB.
- When the song ends, click Stop Recording in OBS.
Step 6 — Check levels & trim (optional)
- If the MP4 sounds distorted, re-record with slightly lower system volume.
- You can trim silence from the head/tail later in any editor (or remux and trim in a video app).
- For audio-only needs, you can extract the AAC track later (Step 7 notes).
Step 7 — Create the MP4 (remux safely)
- If you enabled Auto-remux, OBS already saved an MP4.
- Otherwise: File → Remux Recordings → pick your .mkv → Remux → you get a clean .mp4.
Need audio-only? In File → Remux, choose .m4a (AAC) instead of .mp4, then convert to MP3 in Audacity/FFmpeg if required.
Recommended quality settings (quick reference)
- Settings → Audio → Sample Rate: 48 kHz (OBS default; widely compatible)
- Settings → Output → Recording → Audio Track: select Track 1
- Settings → Output → Audio → Track 1: AAC 320 kbps
- Canvas/Output Resolution: 1920×1080 (keeps the cover art crisp)
- Hotkeys (optional): set Start/Stop Recording for snappier control
Troubleshooting (fast fixes)
| Symptom | Likely cause | Fix |
|---|---|---|
| No meters moving in OBS | Wrong source/device | Use Application Audio Capture (Spotify), or pick the correct Speakers/BlackHole/Monitor device |
| Recording is silent | Windows output switched mid-session | Re-open OBS; reselect the device; test with a system sound |
| Distorted/harsh audio | Clipping from high system volume | Lower system volume; keep peaks ≤ −3 dB in the mixer |
| Can’t hear Spotify while recording (Mac) | Output routed only to BlackHole | Create Multi-Output (BlackHole + headphones) in macOS Audio MIDI Setup |
| MP4 corrupted / won’t play | Recorded straight to MP4 and crashed | Record to MKV and Remux to MP4 (Step 1 & 7) |
| Video is black | No visual source added | Add Image (album art/logo) and Fit to screen |
Where to find your OBS recordings (and how to keep them organized)
When you finish recording in OBS, your file is automatically saved to a default folder. Here’s the quickest way to locate it:
- In OBS, click File → Show Recordings.
- A File Explorer (Windows) or Finder (macOS) window will open with your saved files.
- By default, OBS saves to your Videos folder unless you changed the path in Settings → Output → Recording Path.
Pro tip: Create a dedicated folder (e.g., Spotify Captures) and set it as your default path in Settings → Output. This keeps multiple songs organized and easy to back up.
Best practices for clean, reliable captures
- Silence distractions: Turn on Do Not Disturb and disable notification sounds before you hit record.
- Free up resources: Close heavy apps and browsers to avoid dropped frames or stutters.
- Test first: Run a 10-second test recording to confirm audio levels and quality before committing to a full track.
- Batch smartly: Queue up a playlist and let OBS capture several tracks in one sitting.
- Plan time: Remember — OBS records in real time. A 3-minute song takes exactly 3 minutes to capture.
Why you should avoid “Spotify converters” online
You may see sites like SpotifyMate or SpotifyDownloader promising instant MP3/MP4 downloads. But here’s the truth:
- Low or wrong quality: Often compressed audio or even mismatched tracks.
- Risky downloads: Some pages hide malware or shady ads.
- Against terms: These tools usually violate Spotify’s licensing agreements.
The OBS method is safer because:
- It records the song you already have legal access to.
- It preserves consistent quality (you control the stream).
- It avoids malware, shady redirects, and copyright issues tied to converters.
FAQs about Downloading a Song From Spotify To Mp3
Can I convert Spotify songs to MP3 without Premium?
Yes—with caveats. You can record Spotify playback without Premium using desktop tools like Audacity and export to MP3. Quality matches the Free tier stream (typically up to ~160 kbps), so don’t expect studio-grade audio. If you’re sticking with the Free tier, you can also reduce interruptions from Spotify ads on the Free plan. Avoid online “converters” that demand your login or violate Spotify’s terms.
Will Spotify ban me for converting music to MP3?
Not usually, but it’s risky. Spotify can act if you use third-party downloaders, share files, or hand credentials to untrusted apps—those can breach the Terms of Service. If you record your own playback for personal use and keep files private, you generally reduce the chance of account issues.
Can I get 320kbps MP3s from Spotify?
Not directly from Spotify. Premium can stream up to 320 kbps, but saving a 320 kbps MP3 won’t exceed the source quality. If you’re weighing an upgrade or downgrade, here’s how changing your Spotify plan impacts audio quality and downloads. You can record at 320 kbps for convenience, yet fidelity equals what you streamed. For guaranteed 320 kbps files, buy tracks from legitimate music stores.