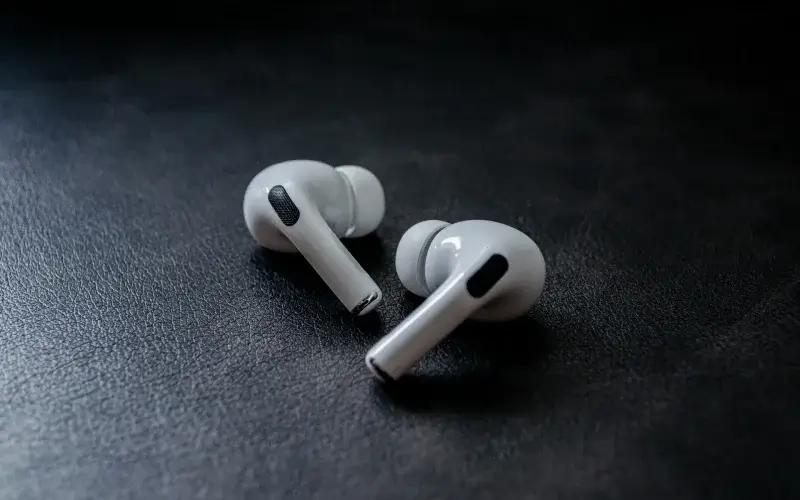
Knowing how to change AirPods Pro ear tips is important for keeping your earbuds comfortable and performing their best. Over time, tips can wear out, collect dirt, or get lost, and the wrong size can make your AirPods Pro slip or sound weak. Apple’s ear tips are designed with a unique snap-on system, which makes replacing them quick and secure when done correctly. In this guide, you’ll learn step by step how to replace AirPods Pro tips, choose the right fit, and keep them clean so you get the best sound and noise cancellation every time.
Quick Answer:
How to change AirPods Pro tips:
- Gently pull the old ear tip straight off the earbud until it clicks out.
- Line up the new tip with the oval connector.
- Push the tip in until you hear or feel a click.
- Repeat for the other AirPod.
The tips should feel secure and give a snug seal. If they feel loose, try a different size.
Table of Contents Show
How AirPods Pro Ear Tips Work
AirPods Pro use a different ear tip system than most wireless earbuds. Instead of sliding over the speaker, each silicone tip snaps into place with a small locking ring. This design keeps the tip secure, creates a tighter seal, and helps the earbuds deliver stronger bass and better noise cancellation.
Apple includes three sizes of ear tips—small, medium, and large—so you can test each one. The right size should feel snug without hurting your ears. A proper seal is what blocks outside noise and makes your AirPods Pro sound full instead of hollow.
If none of the included sizes feel right, you can try third-party options like foam ear tips. Foam compresses slightly as you insert it, then expands to match the shape of your ear canal, which can give a more secure fit. Just make sure any replacements are designed for AirPods Pro so they lock in correctly and don’t come loose.
How to Change AirPods Pro Ear Tips
AirPods Pro tips are designed to be replaced quickly, but it’s important to remove and attach them the right way to avoid damage. Follow these steps:
- Hold the AirPod by the stem. Keep your fingers away from the speaker mesh.
- Grip the silicone tip at its base and pull straight out. A gentle tug should release it with a click.
- Line up the new tip with the oval connector on the AirPod.
- Push the tip in firmly until you hear or feel it snap into place.
- Check the fit. Gently tug on the tip—if it stays secure, you’ve attached it correctly.
After replacing both tips, use Apple’s Ear Tip Fit Test in Bluetooth settings to confirm you’re getting a proper seal. This ensures noise cancellation and sound quality work as intended.
Apple also provides official instructions for replacing ear tips in their support guide.
Finding the Right Fit for Your AirPods Pro Tips
The seal from your ear tips is what makes AirPods Pro sound their best. If the tips are too loose, you’ll lose bass and outside noise will creep in. If they’re too tight, they’ll cause pressure and discomfort. The right fit should feel snug, stay in place when you move, and keep the sound full without hurting your ears. If the fit feels inconsistent after workouts or in humid conditions, moisture may be the cause. Here’s what to do if you ever need to remove water safely from AirPods.
Apple includes three sizes—small, medium, and large—so test each one. Start with the default size and switch if your AirPods slip out or feel uncomfortable. A proper fit will also improve noise cancellation and make your music sound clearer.
For extra guidance, use the Ear Tip Fit Test on your iPhone:
- Go to Settings > Bluetooth.
- Tap the “i” icon next to your AirPods Pro.
- Select Ear Tip Fit Test.
The test plays sound and checks how much escapes. If the seal isn’t right, it recommends trying another size until you get a proper fit. If music still sounds weak even with the right seal, you may want to check your settings and learn ways to boost the volume on AirPods.
FAQs:
How do I keep AirPods Pro from falling out?
AirPods Pro should fit snugly when the right tip size is used. If they still fall out after testing all three sizes, try foam replacement tips or wing hooks for extra support. These accessories can improve grip without affecting sound quality.
Can I use any silicone ear tips on AirPods Pro?
No. AirPods Pro use a proprietary locking connector, so generic tips from other earbuds will not fit. Only ear tips made specifically for AirPods Pro will attach securely and stay in place.
Are AirPods Pro ear tips covered under warranty?
Apple’s one-year warranty covers defects but not normal wear. If your AirPods Pro arrive with damaged tips, Apple should replace them. Worn or torn tips from daily use are not covered, even with AppleCare+.
Why does my Ear Tip Fit Test keep failing?
If the fit test fails on every size, make sure the tips are fully attached and inserted properly. Adjust the angle in your ears for a tighter seal. Dirt buildup can also affect results, cleaning your AirPods may help. In some cases, blocked mics are the issue, and here’s a quick guide on how to clear the microphone on AirPods.
How do I buy new AirPods Pro ear tips?
You can purchase new tips directly from Apple in small, medium, or large sizes. Third-party sellers also offer foam and silicone alternatives, but always confirm they are AirPods Pro compatible before buying.
How do I clean AirPods Pro ear tips?
Remove the tips and rinse them with water. Let them dry completely before reattaching. For stubborn buildup, here’s a detailed guide on how to clean earwax from AirPods.


